Introduction
User Interface & Concepts
Understand key concepts and learn how to use the ToDesktop Builder interface
Introduction
ToDesktop Builder is a powerful application for building cross-platform desktop applications. To get the most out of ToDesktop Builder, however, there are a few concepts that are useful to be aware of. This guide will explore these core concepts and the interfaces we use to express them.

Application
Once you have created your ToDesktop Builder project, you’ll be encouraged to configure your Application. You can specify important display information, such as your app's title and icon. Notably, the application is also responsible for lifecycle features. For example, you can specify how your desktop app should behave when offline or whether your desktop app should launch when a user first starts their computer.
Many ToDesktop features will have a tooltip associated with them. You can hover over this tooltip whenever you need clarification on the behaviour of a feature.
Windows
After you have configured the core behaviour of your application, you’ll likely want to specify what Windows are visible when your app is first launched. You can create as many windows as you like, but you must designate one as your Main Window. This is because your main window is essential for expected desktop app behaviours. For example, clicking your application icon when your app is hidden will open and focus the main window.
Aside from designating your main window, each window is customizable in various ways. Specifically, you can edit a window's:
- Options, such as the type of window and the URL that it should load.
- Dimensions, such as the default height and width of the window or whether it’s resizable.
- Appearance, such as hiding the window toolbar or changing the titlebar style.
- Behaviours, such as whether the window should always sit on top of other windows.
One of the core benefits of ToDesktop Builder is that it speeds up the desktop application development process. Anytime you make a change, you can simply hit the “run” button to see how that change is presented in an actual desktop app.
Menus
By default, every desktop application comes with a pre-configured Menu. This standard application menu displays a native dropdown for accessing help, window, and view settings. ToDesktop allows you to define your tweak these menu settings and create new ones. For each specific menu item, you can customize the following:
- The name and icon for the menu item.
- The role that the menu item should play. For example, menu items can be configured to minimize or close windows.
- A keyboard shortcut for triggering the menu item.
- The operating systems that should display this menu item.
Having a well-thought application menu is one of the simplest things you can do to give your application a native feeling. For example, many desktop app users use these menu items to manage window visibility and access information about the app.
Trays
A Tray is a concept that is easy to overlook. These are the small application icons in the top-right corner of a MacOS desktop app or the bottom-right corner of a Windows desktop app.

As with the section on Windows, ToDesktop allows you to create as many trays as you like. For any given tray, you can specify the following:
- The platform icon for the tray and whether it should adjust in dark mode.
- How the tray should behave once clicked. For example, you can specify that clicking a tray should toggle a target window or menu.
When the click behaviour of the tray is set to “Toggle Menu”, you can navigate back to the Menus tab to configure a tray-specific menu. This will show up as a context menu when the tray is clicked when your application is running.
Plugins
ToDesktop Builder supports a Plugin ecosystem that allows you to extend your desktop app experience with custom code. The following is a list of some example plugins:
- Communication Server Plugin supports communicating between the web browser and desktop app.
- Active Window Plugin supports getting metadata about the active window.
- Selected Text Plugin supports getting the selected text from any application.
- Application Icon Plugin supports getting the icon of a file or app.
Successfully using a Plugin is a 2-step process that requires installation in ToDesktop Builder and in the code repository of your target app. For example, using the Selected Text Plugin requires you first to install the plugin in ToDesktop Builder. Next, you'll need to install a client-side library that allows you to connect to the plugin:
After you have completed these steps, you can use the exposed functionality from the client library to interact with the desktop app plugin. For example, the following code imports and invokes getSelectedText to print the text currently selected.
It’s important to realize that you can still add custom code to your desktop app without the use of plugins. When your application runs in a desktop app environment, ToDesktop exposes a window.todesktop window object that exposes desktop-specific functionality. Contact us at [email protected] if you would like to learn more.
Releases
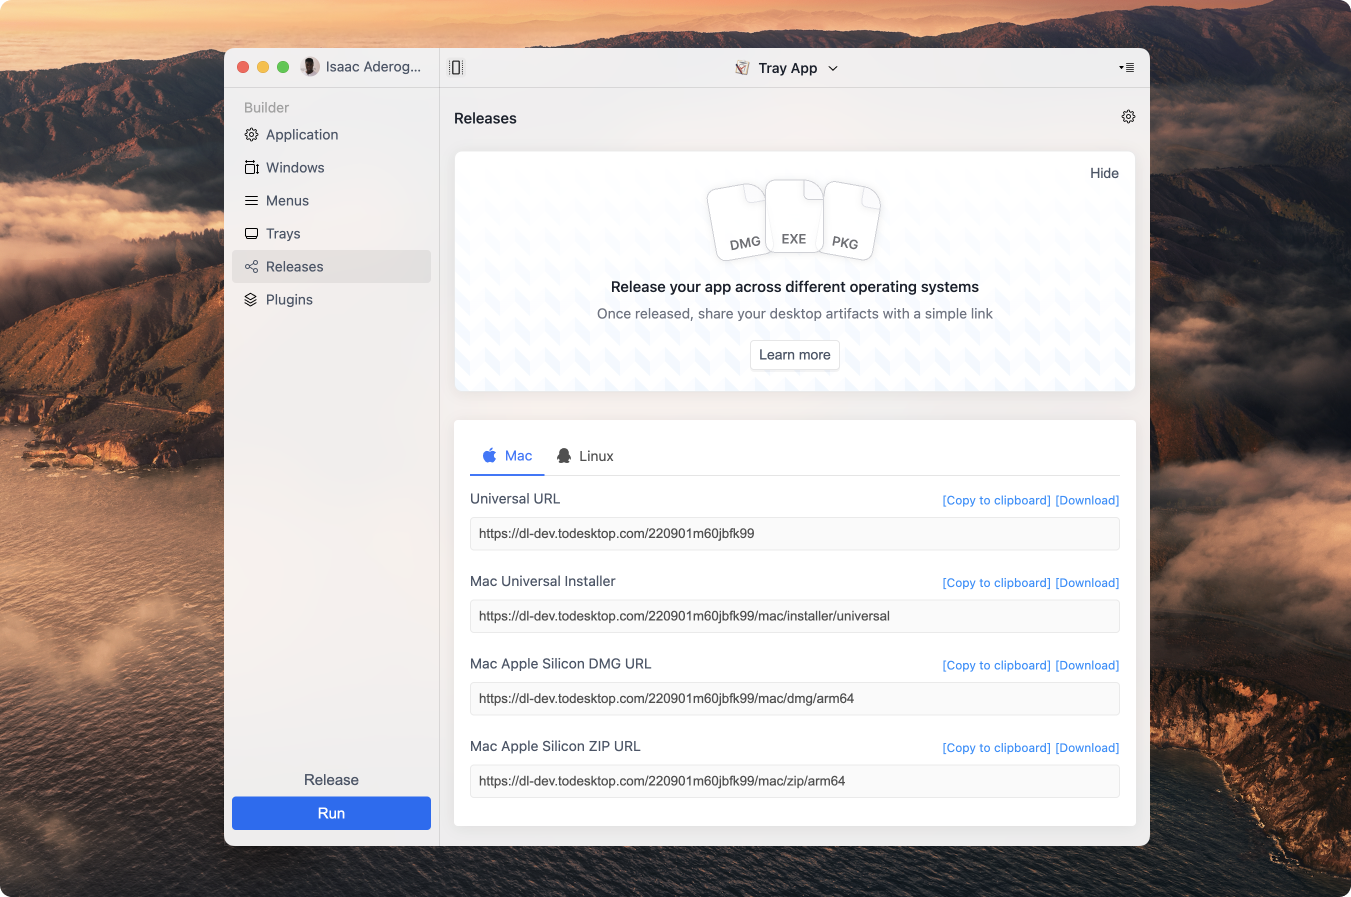
Once satisfied with your desktop app experience, you can trigger a Release. To release an application, click the “Release” button in the bottom-left corner of ToDesktop Builder. You’ll be able to specify the version before finally releasing your app.
As a note, releasing apps to customers is the only step that requires a paid subscription. When you're ready to share with customers, we’ll ask you to choose a billing plan. This means you can privately test your desktop application without any financial cost.
You can also configure the operating systems and artifacts that you want to release. For example, you can choose to release a MacOS-only desktop application.
